With A Side of Jess

Wednesday, December 5, 2012

COVERGIRL Blast Flipstick Lipcolor in Vixen Review


I really don't know where to begin with this one. Maybe I should start at the beginning.

I was so excited when I got notification from BzzAgent that I'd been selected to receive a sample of COVERGIRL's Blast Flipstick Lipcolor. For some reason I have a deep love/hate relationship with lip products. I think they always looks so great in their nice, shiny packages at the store but when I get them home it's like they morph into something I hadn't meant to buy. I think part of my difficulty is that my natural lips are pretty pigmented and so when I try wearing a lip product, be it lipstick or a deeply pigmented gloss, it just looks strange.

Now I bet you're wondering why that makes me happy to try a lip product that I had no say in what color(s) I would receive. Well that's because I wouldn't have a choice. I hoped it may force me outside my comfort zone a bit and at least try a different type of product even if I ended up with a color I would have chosen for myself anyhow. What I wasn't really expecting when I opened the box was to see not one, not even two, but THREE full sized products at my disposal to try!


Before we get into my thoughts on the lipsticks, I'd like to share just a little information about the product itself. These come in 13 complementary shade duos - everything from berry shades to taupe, brown, red and even gold. I think there is probably a shade duo for everyone somewhere in the mix. They retail in the $8 range.

I don't know about anyone else, but when I was younger I used to try mixing lipsticks to get new and exciting shades. It usually didn't work out so well. The lipsticks were hard - literally - and didn't mix or blend well making everything a clumpy, lumpy mess. These, however, are supposed to have a very blendable, moisturizing formula that encourages mixing and won't leave your lips feeling heavy or dry. One end of the tube has a creamy color and the other is more shimmery.

So I received the shade duos Minx, Stunner and Vixen. For this post I will primarily be talking about Vixen as I'm giving Stunner to my sister as part of her Christmas gift - she loves new make up! - and I've put Minx aside to be part of a giveaway I'm working on - so maybe you'll be the one getting to tell me all about that shade duo.

Since I won't have any color swatches to share of Minx and Stunner, I'll just share the pictures I snapped of the tube and the colors through the tops.


Minx has a deep brown on one end and a gold shade on the other. It seems like it could create some interesting looks!


Stunner has a bright pink on one end and gold on the other. Actually, those color descriptions are according to the info booklet I received with the samples. In person, to my eyes at least, I would call the "pink" shade more red. Perhaps it swatches pink, but I won't know that until sometime after Christmas.

So now on to the color I can share a bit more about: Vixen.


Vixen has burgundy on one side and a pearlescent pink on the other. I went through a big phase in high school where I was really into the dark, vampy burgundy lip - though I never actually wore it out of the bathroom - so this duo was right up my alley.

So now on to my thoughts on Vixen.

Darker burgundy end
Pearlescent pink end
As I hope you can tell from the swatches above, the burgundy end is quite bright, though more sheer than I was really expecting. It gives good color to the lips and covers them completely but it's much more sheer in color than I was expecting and really creamier in texture than I was expecting. The lighter, pearlescent pink end is quite sheer as well - more so than the burgundy - but just as creamy and very blendable.

The pictures above show how they look next to each other. The picture on the left shows the colors better, but the picture on the right shows that there's a bit of sheen to both colors. By sheen I don't mean glitter and I don't mean sparkle. It's more of a satin type of sheen to me

These pictures show how the colors look layered. I don't think there would be any benefit to putting the darker color on top of the lighter color, so I'm just showing how the light pink looks on top of the burgundy.

I think that putting the pearlescent pink on top of the burgundy gives it some great depth. It adds a bit more shine since it's lighter and really draws attention to the lips. You can use the lighter color all over - as I did in the swatches - or just as a highlighter color in the center of the lips. It really looks beautiful both ways.

One of the best things about these flipsticks is that it's pretty much like getting BOGO lipsticks. You're paying for one lipstick and getting two colors - two complimentary colors at that.

Have you tried any of the Blast Flipsticks? How have you been wearing them - together or alone? Feel free to share your thoughts/comments below!

Disclaimer: I am a BzzAgent and samples of this product for free

Tuesday, December 4, 2012

November 2012 Hits and Misses - Beauty, Craft, Food and Lifestyle Favorites

I'm just going to skip the whole "I can't believe November is over" stuff and get straight to the good stuff. Hopefully you can find a few new products to add to your rotation too!


Hits
Beauty:
Boscia Soothing Cleansing Cream
I got this in a Birchbox a few months back, but didn't really start using it until this month. I've used it nearly every night to remove my makeup and I love it. It comes out as a creamy, somewhat thin lotion and quickly morphs into an oil of sorts once you apply it to your dry face as the directions indicate. However, I have to say that while the texture/slipperiness makes it seem like an oil, it does not leave a greasy feeling behind once you've rinsed it off. For me, it just leaves behind soft, smooth feeling skin. I typically follow this with either another use or I use another face cleanser to clean my face. This works great for removing my makeup before actually cleansing.

Jouer Lip Enhancer Conditioning Lip Treatment
I was really loving this lip treatment this month because it was so moisturizing. As the air got colder, my lips got more chapped and because I didn't catch it in time they ended up cracking in one spot. I put it on after I applied my facial moisturizer and by the time I got to doing my lips in my makeup routine, they were much softer.

Craft:
Christmas Stickers
These made putting many Christmas cards together a snap. I'm so glad I was able to snag them when they were $0.10 or $0.20 a couple days after Christmas last year. I think I was able to make 10 or so cards using just the stickers I found on these two sheets.

Food:
Potato Chip ChocoPod
This curious little thing showed up in my Birchbox this month and let me tell you, I loved it. I wasn't sure what to expect when I read that it was potato chips and sea salt all covered in milk chocolate. Actually, I expected it to be essentially a chocolate covered potato chip. I was partially right. While this wasn't a whole potato chip covered in chocolate, there were definitely potato chips in there. I would describe the texture as more of a crispy rice covered in chocolate ala Nestle Crunch. I couldn't really pick up on the saltiness, but maybe someone who doesn't have a cold would be able to. At any rate, I loved it and would love to try some of the other flavors they have too.


Thanksgiving Dinner
Who doesn't love a good Thanksgiving dinner? I mean, there's mashed potatoes, delicious turkey, cole slaw...the list really does go on. This year I had the pleasure of cooking most of our Thanksgiving dinner myself. Have I ever mentioned how much I love cooking big meals for lots of people? Well I do. All the food turned out wonderful - unfortunately I only got pictures of the main dish and side dishes, no desserts.

Lifestyle:
Uno
My sister and I have recently rediscovered this childhood favorite and we play it nearly every weekend. It's such a simple game, but yet it's a game of strategy, which makes it so much fun. We can play for literally HOURS and it doesn't matter who wins and who doesn't, it's just fun.

Misses
Beauty:
Herbal Essences Drama Clean Shampoo and Conditioner
I am by no means one who sticks to a specific shampoo/conditioner. I jump around amongst various brands and sometimes have to choose my shampoo/conditioner based on what's left at the store when I go shopping. That said, this month I ended up with this Drama Clean shampoo and conditioner from Herbal Essences. It's supposed to be refreshing and lightweight, leaving you with soft, manageable hair according to the bottles. Yeah right. I think this was entirely too lightweight for my hair and I ended up with a head full of tangles and snarls. I had to use quite a bit of stuff to detangle my hair and make it do anything but knot up. I will not be repurchasing this particular shampoo/conditioner.

Craft:
I didn't have any craft misses this month.

Food:
I didn't have any food misses this month.

Lifestyle:
Call of Duty Black Ops II
The latest COD came out this month and for at least a week - I kind of lost track - I was once again a video game widow. My husband would get home from work, take a shower and head upstairs to play until dinner was done. After dinner he disappeared again only to be heard - he's a loud, very loud, gamer - and not seen until bed time. Lather, rinse, repeat. I'm pretty sure this went on for at least a week, possibly longer.

Products mentioned in this post:

Monday, December 3, 2012

ThankVember Week 4

Every day this month I'm sharing something I'm thankful for on Facebook/Twitter. If you'd like to know what these things are daily, you can become a fan on Facebook here. Otherwise, you can read the weekly posts I'll put up telling what I was thankful for the week before. Week 1's post can be found here, week 2's post here and week 3's post here.

Day 22: I'm thankful that I have and want. So many people need things - legitimately need things - and I have things and can want things. At this point there isn't anything I need that I don't already have.

Day 23: I'm thankful for flannel pjs! My house was freezing and they kept me nice and warm.

Day 24: I'm thankful that this month of thankfulness is almost over. I'm thankful for so much every day that choosing just one thing to say each day is hard. I tend to over analyze my answer far more than necessary and it almost defeats the purpose.

Day 25: I'm thankful I've been able to start my Christmas shopping and not spend a penny of my own money - paid for everything with gift cards and points I've earned from random websites.

Day 26: I'm thankful that one of the cards left on a car for my 30 random acts of kindness back in October made it to someone who really needed it at the time. They have appreciated it and continue to talk about how it brightened an otherwise not so great time they were having.

Day 27: I'm thankful for small miracles - though no miracle is really small. They make days brighter, frowns into smiles and so much more.

Day 28: I am thankful for cold medicine. After a 1/2 does of the nighttime stuff I felt so much better.

Day 29: I am thankful for the sun! Sunshine days are always much better than gloomy ones - except if you get to stay in bed all day on the gloomy ones

Day 30: I am thankful I now have a job!

Friday, November 30, 2012

Christmas Cookies Week 1 - Peanut Butter Cookies - Foodie Friday

Today is the first of four Foodie Fridays focusing - boy that was a lot of Fs - on Christmas cookies. Each week I'll give you a new recipe for cookies my family always makes around the holidays.

We'll get things started with my favorite peanut butter cookie recipe.

Enjoy!

As you can see from the photos above - and below - this recipe makes cookies that tend to spread out and become thin. I'm not sure if this is user error of some sort that has passed from my mom to me - her cookies look exactly like mine - or if it's just the recipe. At any rate, I love my peanut butter cookies this way!

Ingredients
1 c. brown sugar
1 c. white sugar
1 c. margarine - softened
1 c. peanut butter
2 eggs
1 tsp. baking soda
2 c. flour
vanilla - the original recipe doesn't have an amount but I add about 1 tsp.

Directions
Mix in order. Chill for 1 hour. Roll into balls - about 1 T. of dough in each ball. Press with a fork. Bake at 350* for 10 minutes.

Because the dough has a tendency to thin and spread, that 1 T. of dough will make quite a large cookie. Use less dough if you want smaller cookies or are using a smaller cookie sheet. Mine usually end up baking together into a jig saw puzzle of sorts.

That recipe is so very simple - and old. It's so old, in fact, that instead of specifying a measurement amount of dough to use for each cookie - like teaspoon or tablespoon - it specifies to make them about the size of hickory nuts.

I'm not sure where my mom got the recipe and I should ask her some day when I think about it. It's the only recipe I ever remember her making them and they always turned out the same way - a little crunch on the edges and kind of smooshy and soft in the middle. After a day or two the middles got harder and they were crunchy just like the outsides.


Thursday, November 29, 2012

12 Cards of Christmas #10-12

Today is the last of four days of posts sharing my 12 Cards of Christmas series. If you've missed the first day you can find it here, the second day here and the third day here. All of these cards were quick and easy to put together. With the exception of a few, none required any special or fancy supplies and similar supplies can probably be found at your local craft store.

Card 10:
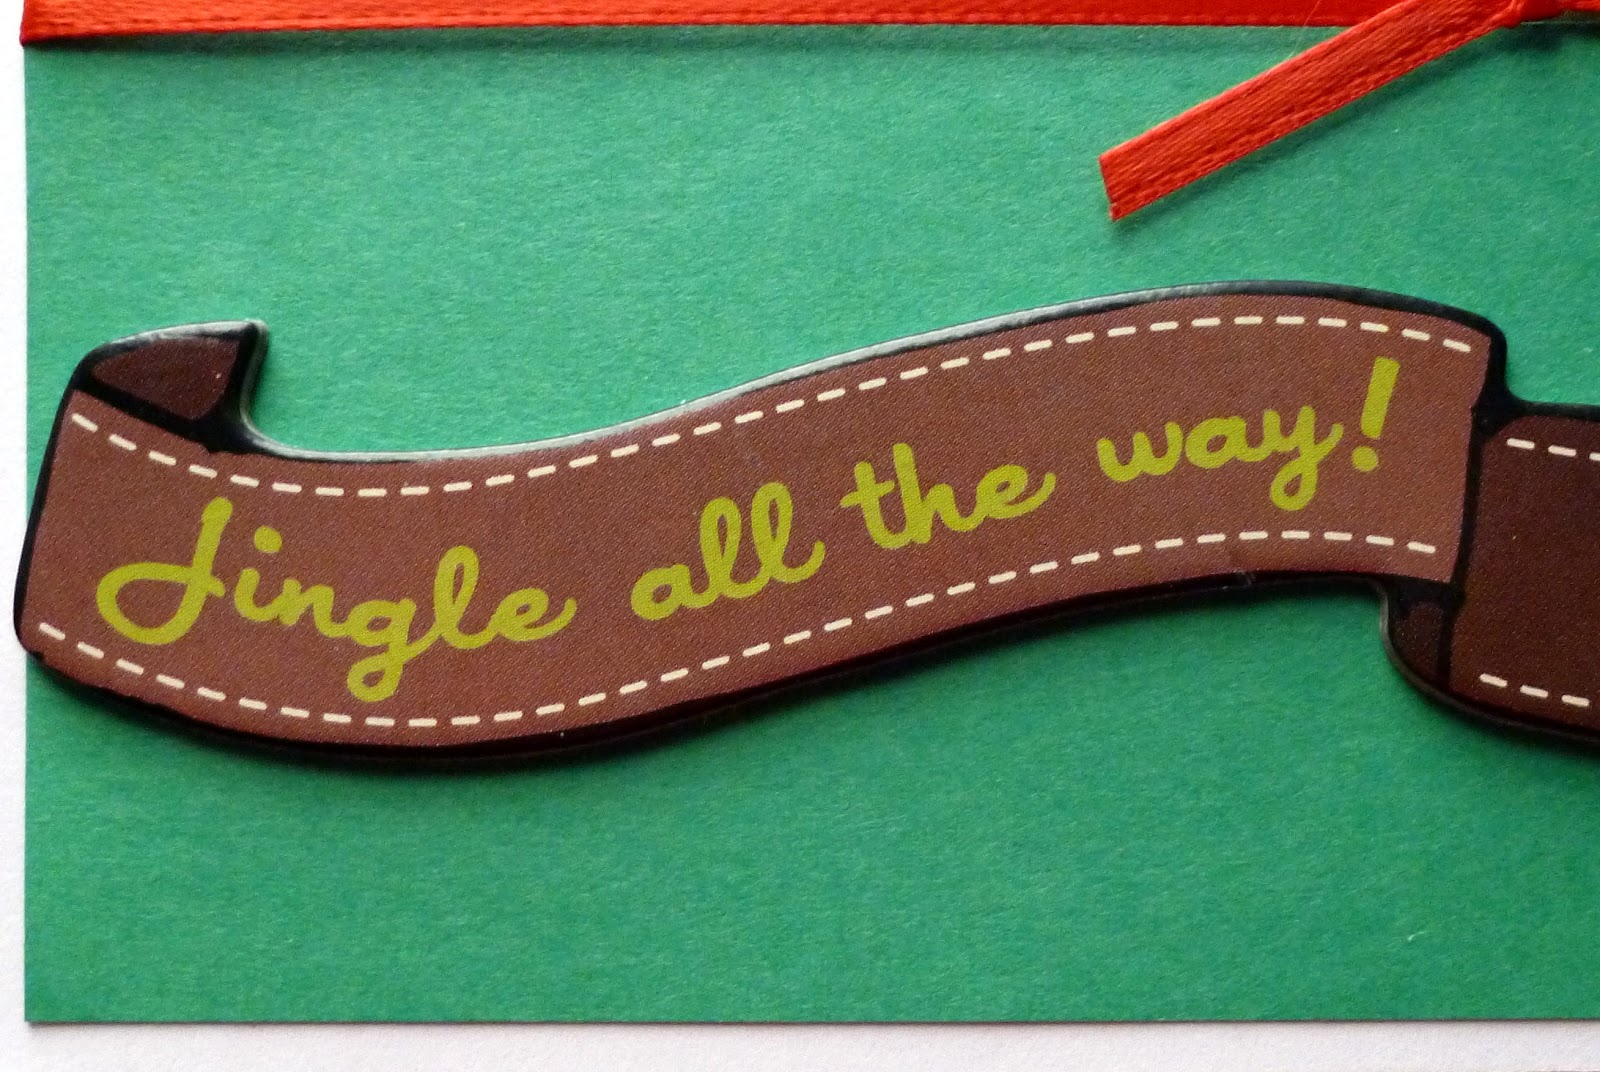
I love this cute little Santa chipboard sticker I had and I think the red/green background goes perfectly.

"Jingle all the way" is a great sentiment to use on a Santa card, at least in my opinion. I only wish I could have centered it more but that wasn't going to happen given the sticker was already premade and I couldn't really alter it.

I spruced up Santa with a bit of glitter on his beard and the ball of his hat.

Card 11:
 Snowmen are always cute and appropriate for winter holidays and because this one says "Happy Holidays," it can be given to anyone who celebrates winter holidays.

This snowman is just adorable. He's so happy and cheery. I maybe only wish I had given him a bit of glitter, but as you can see in the larger card above, there was already bits of glitter sprinkled around the card.

I love that this "Happy Holidays" sticker is flat and not chipboard as the snowman is. It made it so much easier to layer it under the snowman and really, to me, it looks like they could have been one piece because they go together so well.

Card 12:
I love the color scheme of this card because it's not your typical winter/holiday card colors. The cream and mint green look amazing together and I was lucky enough to find the diagonal striped paper in my scrap pile.


 I glued a row of acrylic gems, aka rhinestones, in varying sizes across the middle of the card to cover the seam between the papers. Few things bug me more than being able to see the seam between two papers, especially when it's not a pretty seam.

I added a bit of glitter to the "snow" portion of the sentiment to make it stand out a bit more, but otherwise I don't think this needed very much sprucing up. I put white cardstock on the back of the sticker so I could then use foam tape to pop it up. This is such a simple and beautiful card.

So now that you've seen 12 very different Christmas card ideas, are you going to start making your own? Have you started making your own? I'd love to see what card ideas you've come up with for this season so feel free to share and discuss them in the comments below!